This story began in January 2020, but an actual stable flight was made at the end of July 2020.
Initially, this model was called "Polaris," but I decided to name my plane "Sirius." I was thinking about building my remotely controlled aircraft a long time ago. But different life challenges and just simple laziness contributed so that I only started to do it at the beginning of 2020, although the first time I thought about this was in 2016. Not having any experience in aerodynamics, I decided to build a model, which has already proven its successful flight record. I chose to make a well-known RC plane model called "Polaris." It was designed by Steve Shumate about 20 years ago or so. The building plans were taken from this website.
Imagine you could travel back in time. Back to January 2020. It is a time when the plane has not yet exist. And I have started to build it. :)
For the building of an aircraft, 6 mm thick foam sheets have been used. The plane's fuselage parts have been cut out and glued first. The wooden sticks make the fuselage more durable, but carbon-fiber sticks 6x1 mm would suit this better.

From the durability considerations, I have installed two wooden sticks inside the fuselage:

The next step is to cut out delta wings and the ailerons. The actual wingspan is 73 cm. A carbon fiber tube with a 5.5mm diameter has been inserted into a tray to enhance the wings strength:
Then the carbon fiber tubes are glued to the wing:

Install the ailerons:


The ailerons are connected to the wing by pinned plastic hinges:

Then install a tale base on the top side of the wing and glue it. Two supporting sticks would be beneficial as well under the tale base:

Enhance corners with plastics angles.Install and glue navigation lights wires to each side of the wing:
Install push-rods for ailerons:

Assemble the navigation lights and glue them to the wing:


Once the wires are connected, and everything is glued, you will get such beauty:


Assemble the wing and the fuselage. Install servos as well. Find a place for the ESC board:

Bottom view:

Top view:

The next challenging part is a tale. It consists of several components, which must be glued accurately to achieve the best flight performance. Check the servo before you finish gluing the tail, because it is one of the most time-consuming plane parts to modify:
The next step is to install all the wires and glue other tale parts together. By skipping a few obvious steps, which are already described in the assembly instruction, you will get something like that:

Then install a rudder and a motor base:
Finally, I have glued the tail's part to its base. I have installed a motor and propeller to check how it fits:

It is important to ensure that the motor wires are soldered so that the required motor rotation direction is according to the selected propeller type (clockwise or counterclockwise). A 6-inch counterclockwise propeller is shown in the picture, but it is a good idea to use 7-inch (7x5E CCW in my case) propeller due to the higher thrust, which it can provide.
Glue the plane's nose to the fuselage:


I have enhanced used the upper tail part with 5 mm carbon fiber sticks:


I have slightly modified the tail by adding the additional components, which increased the tail's weight, and I will show in the next article the consequences of this:

Nevertheless, the assembled tail looks pretty awesome as for me:

The whole plane with tale also looks great:
Install the pushrods into the tray and connect the ailerons and the rudder with them. It is recommended to install servos closer to the tail to have more precise control, but I decided to follow the instruction for the first time.

Enhance the ailerons with 5 mm carbon fiber strips and check the servos and navigation lights:

Nice! Install the receiver before you glue the fuselage completely and check that everything works:


I guess that the plane is assembled. I am not pretending to be a specialist in antennas and electromagnetic wave propagation. Still, it is recommended that the receiver antennas must be installed at 90 degrees to each other:
I took a spray paint, but.....oops:


I started to remove some paint where it was possible:

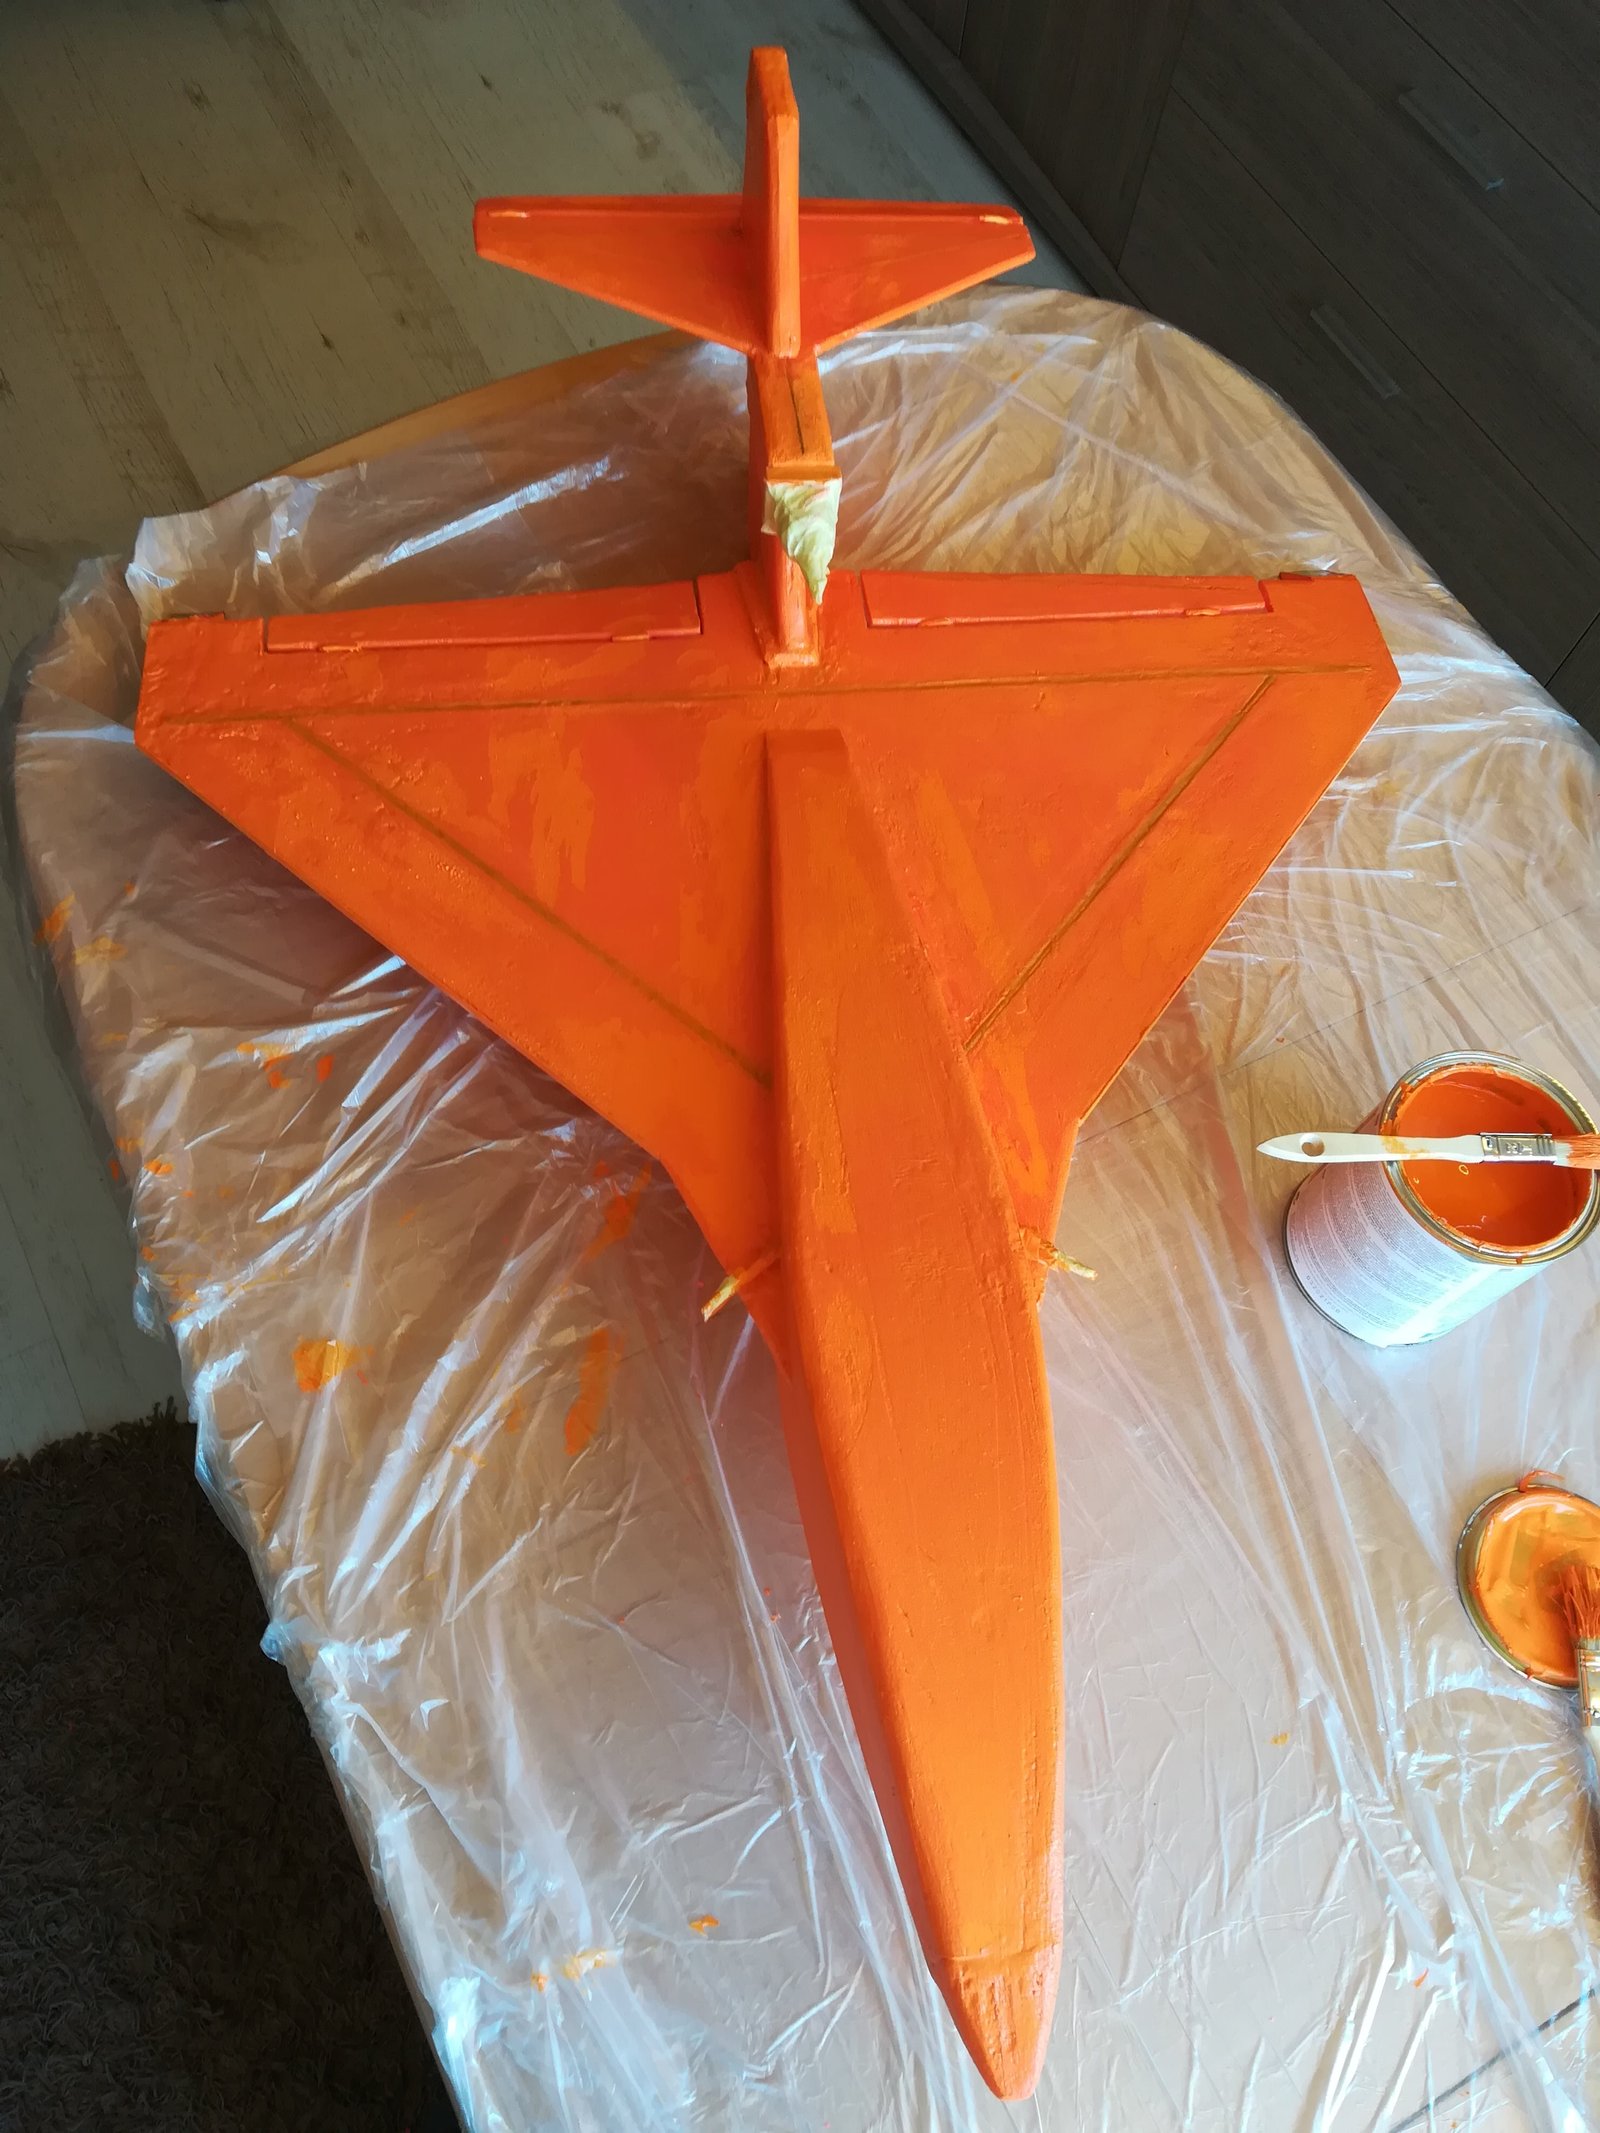
But it was not possible. Therefore it has been decided to chose a more bright color. :)

After covering the plane with tape, the battery compartment should be made accessible:


Finally, the ready plane looks awesome:


Finally, let's check how remote control works:

From this point, I have concluded the plane assembly, but I have faced some launch challenges as well, and you will see this in the next article. :)
